How to Design a Gallery Wall
/
One of my favorite things to add to a space is a gallery wall. The one in this picture is the third one I’ve done over the years. They’re such a great way to group some of your family’s greatest treasures, and showcase them in a uniform way. Designing a gallery wall is actually fairly simple if you have a good plan of action.
First off, the frames. As with anything, you can go high or low. Personally, I’ve found that the black frames with white mats at JoAnns and Ikea are honestly some of the best frames around. You get a wonderful bang for your buck with them. I’ve used these sources for frames for over a decade now without a problem, and will continue to do so.
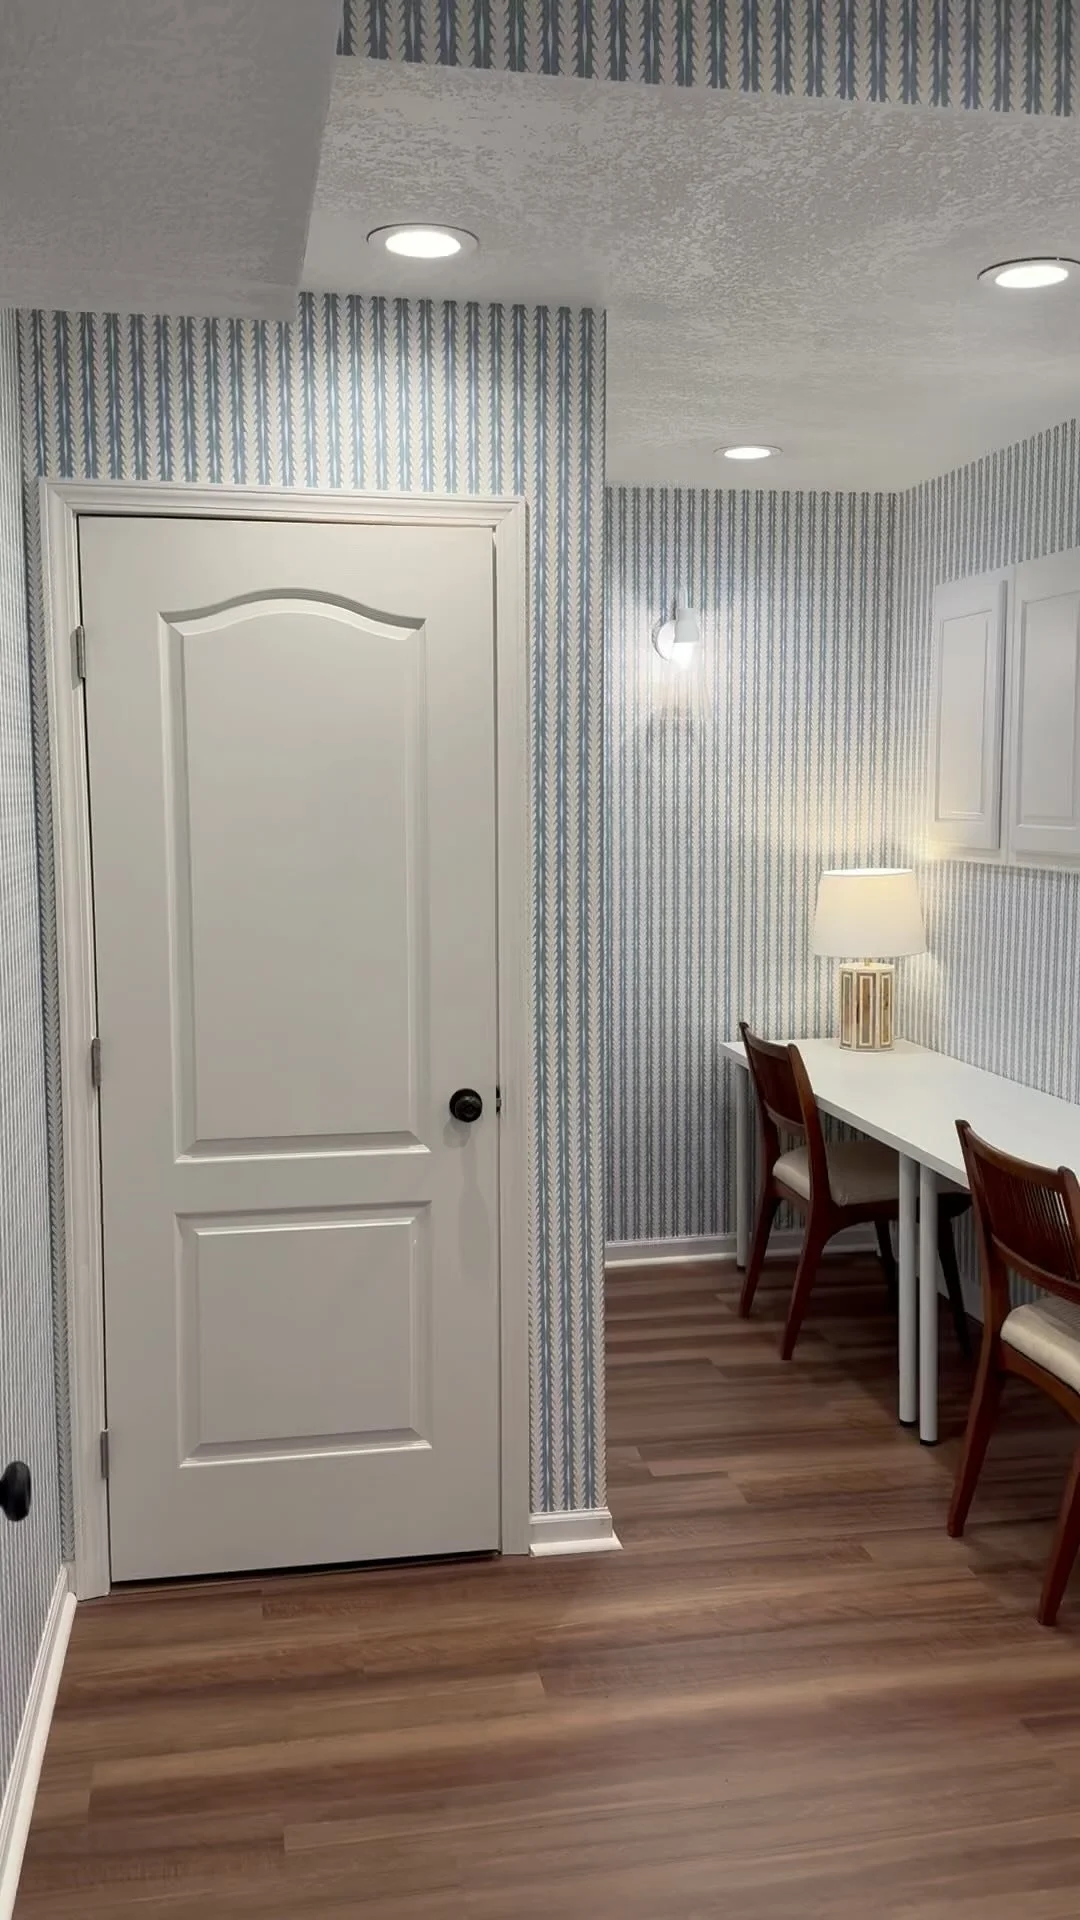
Next, select the space to hang your gallery wall. I like to use walls that are either hidden in your home, or can benefit from a great design pop. In my previous home, I had a gallery wall in the hallway once you walked in to my home. In my current home, I used the wall outside my son’s bedroom that is on our cat-walk. I love having a gallery wall on this particular wall, because it’s visible from our downstairs living room.
Once you have your frames gathered up, and the space selected, here is where you need to use my personal gallery wall trick, that will save you a lot of angst and un-needed nail holes: You need to trace all of the frames you are going to be using, on old wrapping paper. We all have multiple rolls left over from the Holidays. Select your least favorite paper, and get to work tracing. Don’t forget to label the paper, so you know what frame to use when it’s time to hang them up!
After everything is traced, now start hanging your wrapping paper “frames” with simple tape. I like to start with a grouping in the middle of the space, and work my way out. Often-times it’s easier if you place the bigger frames in the middle, or have them grouped in one particular area. If you can, get an extra set of eyes, ie your husband or best friend, to come over and give their opinion. Have them stand a bit back from the wall so they can give you that bird’s eye view…….place it a bit to the right, now up…..you get the drift.
After all of your paper frames are hung, the fun gets to happen. Working from the inside out again, start nailing in your frames to their corresponding spots! Viola! Happy Gallery Wall Hanging!
Photography by @Janellenorthwayphotography